Blog
Flashes of Movement: Techniques for Dance Photography with DSLRs

Flashes of Movement: Techniques for Dance Photography with DSLRs
Introduction
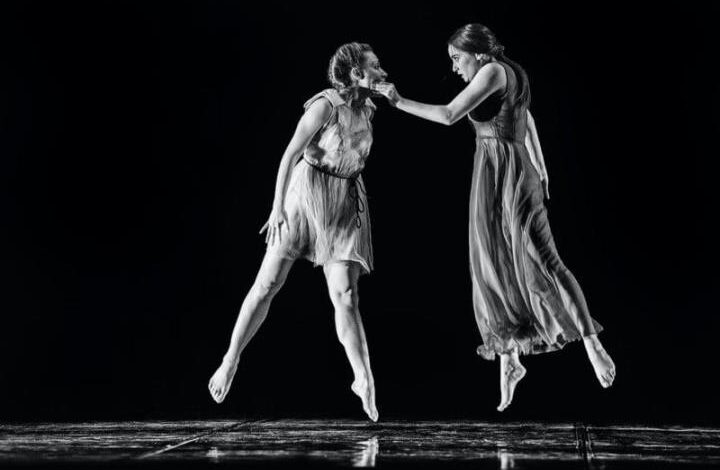
Capturing the beauty and energy of dance through photography with a DSLR camera can be a rewarding experience. However, effectively freezing the fleeting movements of dancers requires mastering specific techniques and equipment. In this article, we will discuss the essential tips and tricks to help you achieve stunning dance photographs.
Equipment and Settings
1. Use a Fast Shutter Speed
To freeze the fast-paced movements of dancers, set your DSLR’s shutter speed to at least 1/500th of a second or faster. This will minimize motion blur and result in sharper images.
2. Choose the Right Lens
A lens with a wide aperture (e.g., f/2.8 or wider) is ideal for dance photography. It allows more light to enter the camera, enabling faster shutter speeds and better subject isolation.
3. Utilize Burst Mode
Dancers move swiftly, so utilizing your camera’s burst mode is crucial. It allows you to capture a series of shots in quick succession, increasing the chances of capturing the perfect moment.
4. External Flash
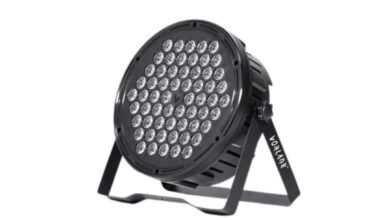
An external flash can be invaluable in dance photography. It provides additional lighting to freeze the action and create more dynamic images. Experiment with different flash positions and angles to achieve the desired effects.
Techniques for Capturing Dance
1. Pre-focus and Anticipate
Dance moves happen quickly, so pre-focusing on a specific area where the action is likely to occur can save you precious time. Anticipate the movements and be ready to capture the perfect shot.
2. Experiment with Different Perspectives
Varying your shooting angles can add depth and interest to your dance photographs. Try shooting from low angles, capturing aerial movements, or shooting through different objects for unique perspectives.
3. Use Continuous Autofocus
Enable continuous autofocus to ensure your subject stays in focus as they move. This feature tracks the dancer and adjusts focus accordingly, resulting in sharper images.
4. Capture Emotion and Expression
Dance is not just about movement; it also conveys emotions and tells stories. Pay attention to the dancers’ facial expressions and body language to capture those poignant moments that make your photos truly impactful.
FAQs
Q1. What is the best time of day to photograph dance outdoors?
A1. The best time to capture outdoor dance photography is during the golden hours, which occur shortly after sunrise or before sunset. The soft, warm lighting during these times can add a beautiful touch to your images.
Q2. How can I capture sharp images in low-light environments?
A2. In low-light situations, consider increasing your camera’s ISO setting to allow for faster shutter speeds. Additionally, using a tripod or image stabilization techniques can help minimize camera shake and maximize sharpness.
Q3. How can I convey the sense of movement in my dance photographs?
A3. To add a sense of movement, try using slower shutter speeds and panning techniques. By tracking the movement of the dancer with your camera, you can create a blurred background while keeping the subject relatively sharp.
Conclusion
With the right equipment, settings, and techniques, capturing the essence of dance through photography becomes an exciting and rewarding endeavor. By following these tips, you can freeze those moments of movement and create stunning images that truly showcase the beauty and passion of dance. So grab your DSLR camera, head to a dance performance, and start capturing the magic on the dance floor!


